Build, install, and boot the latest Linux kernel fresh off Linus Torvalds’ tree.
Set up a kernel development environment
Get comfortable with building the kernel
Make a copy of E0.txt in your named directory
Edit it as nescessary (don't forget to include the output of uname -a and dmesg | head and whoami
on the system running your newly compiled Linux kernel.) and make a commit out of it
Generate your patches
Don't forget a cover letter
All email code patches are expected to pass checkpatch.pl as described in the policies and procedures
Submit your patches to exercise0@COURSE_DOMAIN
Install dependencies:
On Fedora, you can use:
sudo dnf builddep kernel
This is roughly equivalent to:
sudo dnf -y install gcc flex make bison openssl openssl-devel elfutils-libelf-devel ncurses-devel bc git tar dwarves
Install ccache to speed up subsequent kernel builds:
sudo dnf -y install ccache
Clone the latest (v6.5) Linux kernel release from: https://git.kernel.org/pub/scm/linux/kernel/git/torvalds/linux.git.
git clone --depth=1 --branch v6.5 https://git.kernel.org/pub/scm/linux/kernel/git/torvalds/linux.git
Change the current directory to the kernel tree
cd linux
Copy the kernel config for your running kernel to your kernel source tree
cp /boot/config-$(uname -r) .config
Set any new config options to the defaults
make olddefconfig
Set a custom version tag for your kernel build. Edit "Makefile" and add something cool to the "EXTRAVERSION" variable. We suggest it begin with a '.' character. It must NOT contain spaces.
You can print the new version string to test it by:
make kernelversion
Now, build the kernel. The -j option will invoke a parallel build using the number of threads specified. The $(nproc) will resolve to the output of the nproc command, and the nproc command will return the number of processor cores on your VM.
make -j $(nproc)
Next, install the kernel modules for your newly build kernel onto your system. The directories you will be writing to are owned by root, so you need superuser permission (granted by wrapping your command with sudo) in order to complete this step.
sudo make -j $(nproc) modules_install
Finally, install the new kernel into your system's /boot directory. The same superuser considerations from the previous step apply.
sudo make install
Shutdown your VM
sudo shutdown now
If you were running your VM in headless mode, boot your VM in normal mode (so you can see the console output, including the pre-OS bootloader).
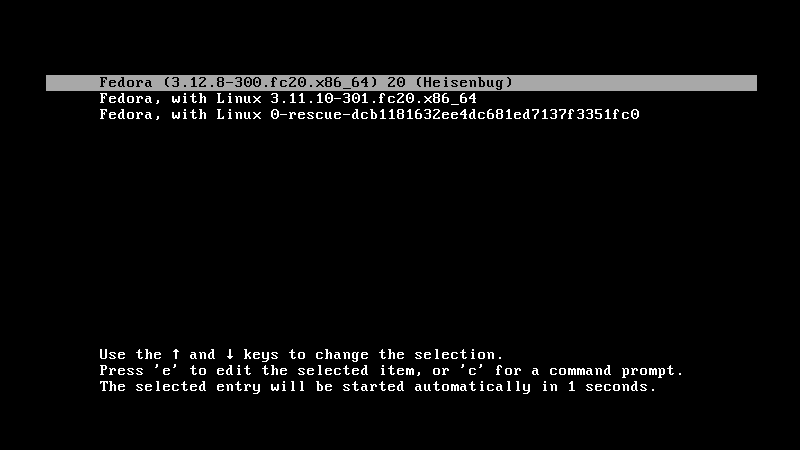
Use the arrow keys to select your newly build kernel with your custom tag and hit enter when it is highlighted.
If you would like to set your new kernel as the default (i.e. it will boot automatically without selecting it at the menu), then use the following command to locate the index associated with your new kernel
sudo grubby --info ALL
Then, use this number to set the default to that index
sudo grubby --set-default-index <index>
Finally, when you have booted into your new kernel and logged in, run the following commands and save their output for the assignment submission.
uname -a

dmesg | head

whoami
Seems easy enough right? 😉
Expect the compilation to take a little while Make sure you have 5-10 GB of free space on the partition where you are storing the kernel tree and a bit of extra space on whatever partition /boot resides in to store the new kernel image and initramfs.
msg = (silence)whoami = Nonesingularity v0.4 (staging) https://github.com/underground-software/singularity